Easy-Slat
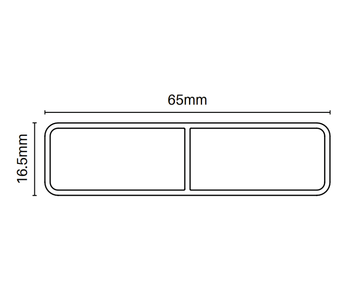
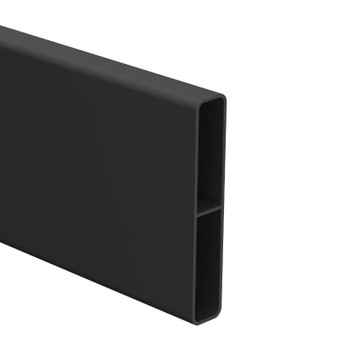
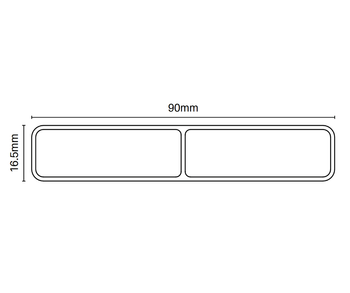
Slat Side Frame - Special U-Channel, including Clip-on Cover to hide fixing screws. - 5800mm long - Choose your colour
- Availability:
- In Stock
- Pick-up, Shipping or Packing:
- Calculated at Checkout
Description
Installation Note: When Installing slats with gaps into this Special Slat U-Channel temporary spacers are needed until all slats are screwed off. Spacers are then removed.
Our black nylon spacers (5mm, 9mm or 20mm) found in our Quick-Fit category can be used as temporary spacers or for a variety of gaps, spacers can be cut from lengths of dressed pine brought from Bunnings like this 8mm thick one (just find a piece of dressed pine or moulding to suit the gap you would like): https://www.bunnings.com.au/porta-20-x-8mm-1-2m-moulding-pine-coverstrip-square-edge-clear
Instructions for Installing Aluminium Slat Fence Panels Using Special U-Channel
STEP 1: Position the First Slat
- Place the first slat near ground level, securing it approximately in the correct position with temporary blocks or chocks.
STEP 2: Install and Space Slats
- Install the remaining slats, spacing them evenly using temporary spacers (place one spacer towards the outer edge on each side).
- Build up the slat screen by continuing to add slats and spacers.
STEP 3: Attach the Top Slat
- Attach the top (or last) slat, ensuring it is level with the top of the U-Channel. Use one screw on each side to secure it.
- Adjust all slats upwards if needed, ensuring the first block or chock is firmly against the bottom slat. Ensure all slats are tight together with the spacers in place.
STEP 4: Secure the Slats
- Screw the bottom slat in place using one screw on each side.
- Proceed to secure each remaining slat, using one screw on each side for every slat.
STEP 5: Final Touches
- Remove all temporary spacers and chocks.
- Install cover strips to conceal the screws and add caps to finish.
- Your first panel is now complete! Well done!


